How to Manually Add a Printer to the xPrintServer
What is the procedure to follow to manually add a printer to the xPrintServer?
At this time the procedure below works best in Firefox or Internet Explorer in Compatibility View. Recent changes in Safari and Chrome result in unusual behavior when using advanced settings on xPrintServers.
The xPrintServer developers are aware of the issue and investigating the cause and a possible fix.
In some cases, you will need to manually add a printer to the xPrintServer. Or, if you prefer control over the driver to use with your specific make and model printer, you can manually create printers in the xPrintServer.
The example below uses an HP printer and the HP JetDirect socket as the transport protocol. Use this as a guide and substitute your desired make and model and transport protocol required by your printer.
Note: For a full sized version of the images below, click on the image.
To manually add a printer to the xPrintServer, follow the sequence below:
Log in to the xPrintServer's webmanager (default username = admin/ default password = PASS)
Go to Printers>Advanced
Click Manually Add Printer.
Discovered printers may or may not be enumerated in the Discovered Network Printers list.
For example, there are no discovered printers displayed in the screen shot below.
In the Other Network Printers section click on the radio button for AppSocket/HP JetDirect.
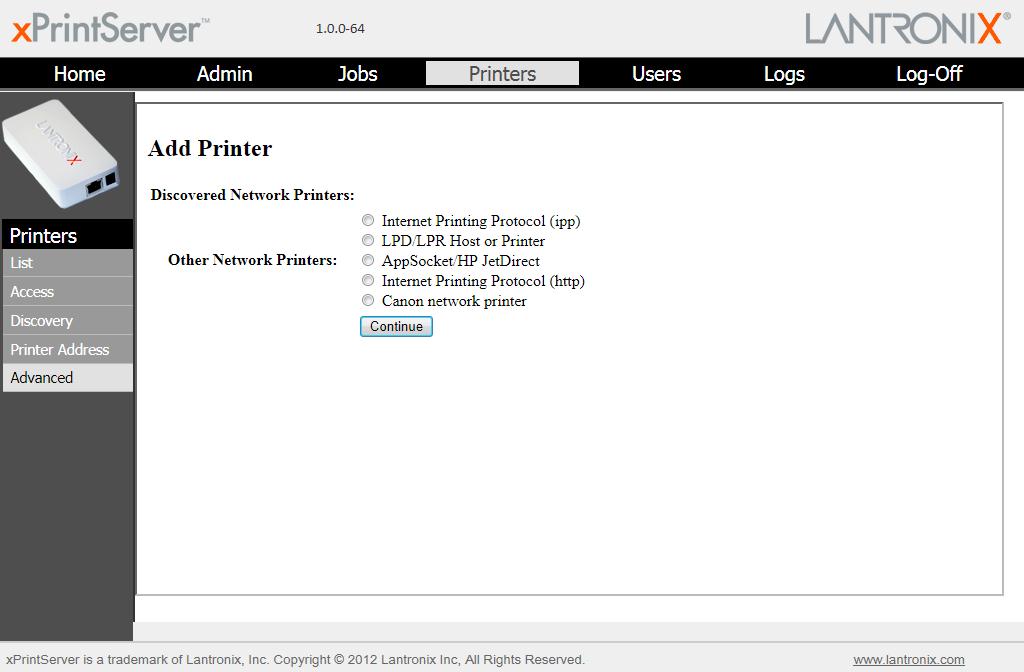
Click Continue.
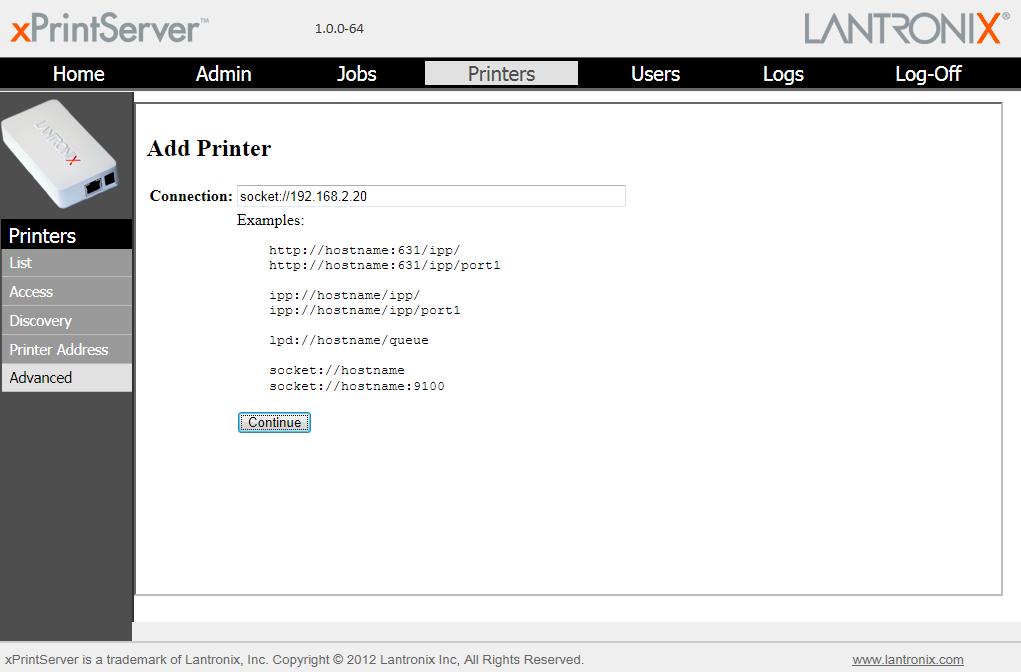
On the next page (Add Printer), complete the URL for the Connection field.
Use the syntax ' socket://<host_name or ip.address> ', eg:
socket://192.168.2.20
Click Continue.
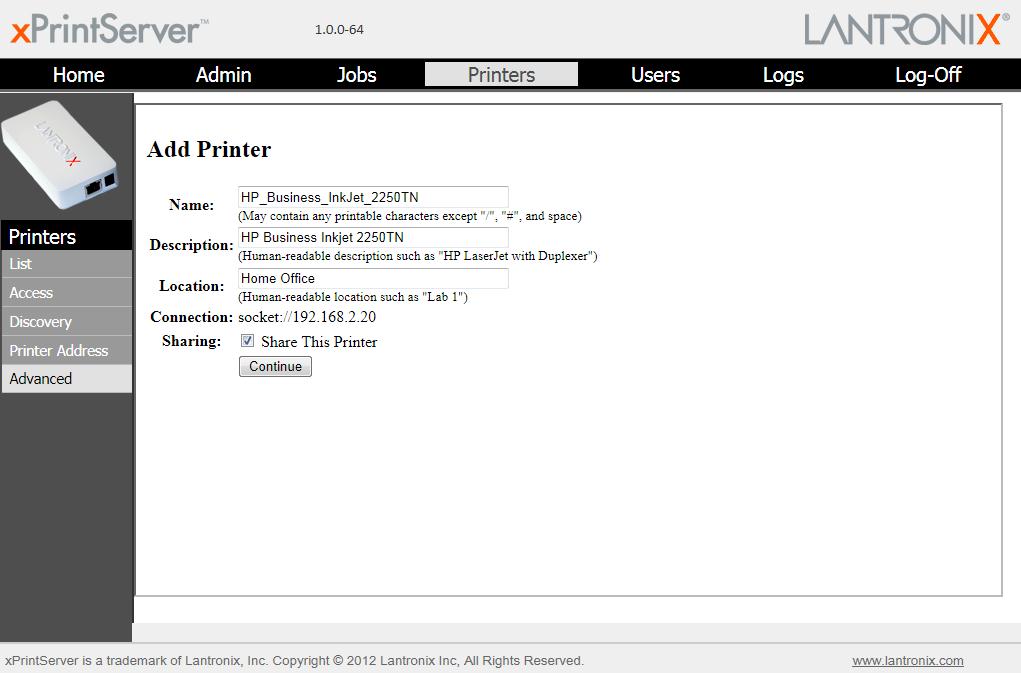
In the next Add Printer page, fill in the desired information for the Name, Description , and Location of the printer.
Note that spaces are not allowed in the Name field.
Be advised that the 'Name' field is only used by the xPrintServer for its available printers list and does not appear on the iOS device. On the other hand, the 'Description' and 'Location' fields are what show up in your iOS device when you choose among available printers when pressing 'Select Printer>' from an iOS app.
Click Continue.
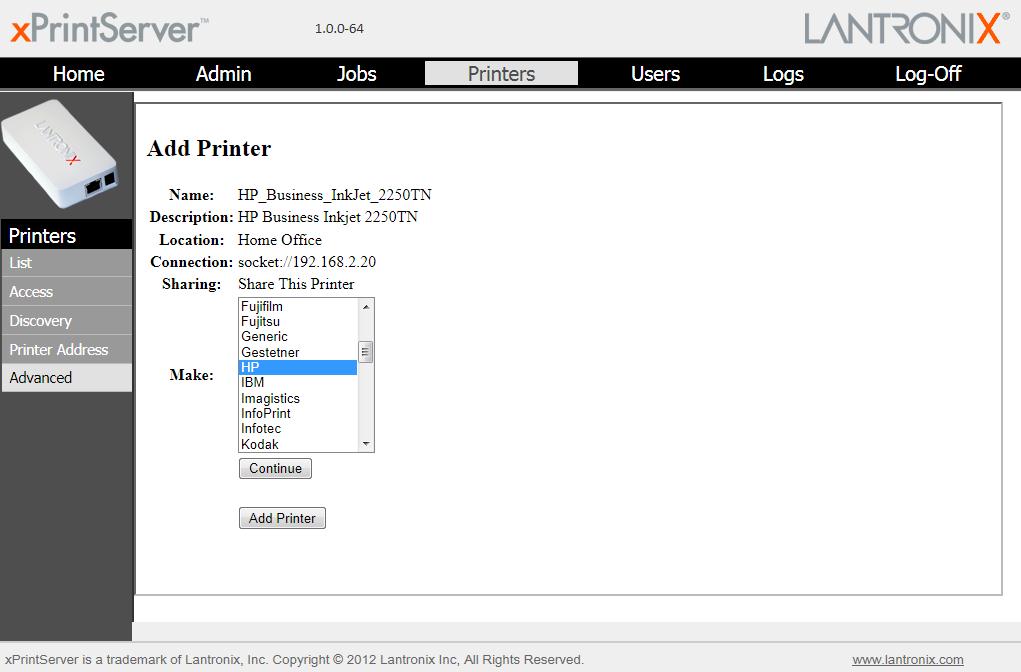
In the next Add Printer page, select the printer manufacturer, e.g. HP from the Make drop-down list.
Click Continue.
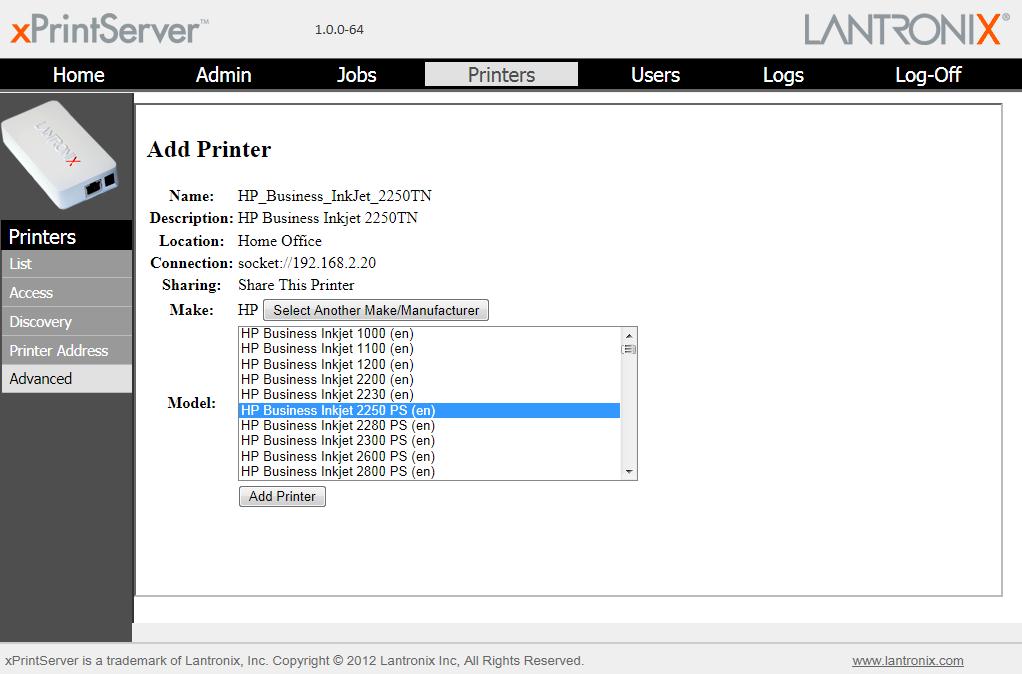
Wait a few moments for the list of available printer models to populate.
Use the next drop-down list to select the specific model matching your printer, e.g. HP Business Inkjet 2250 PS for this example session.
Click Add Printer.
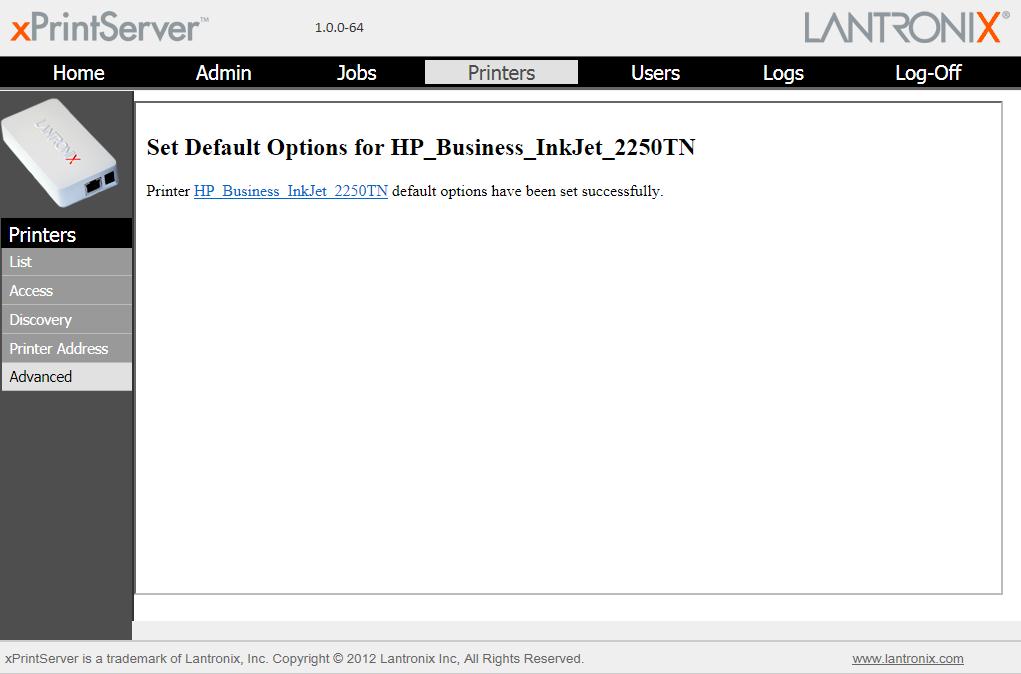
On the next (last) page to manually add your printer, click Set Default Options.
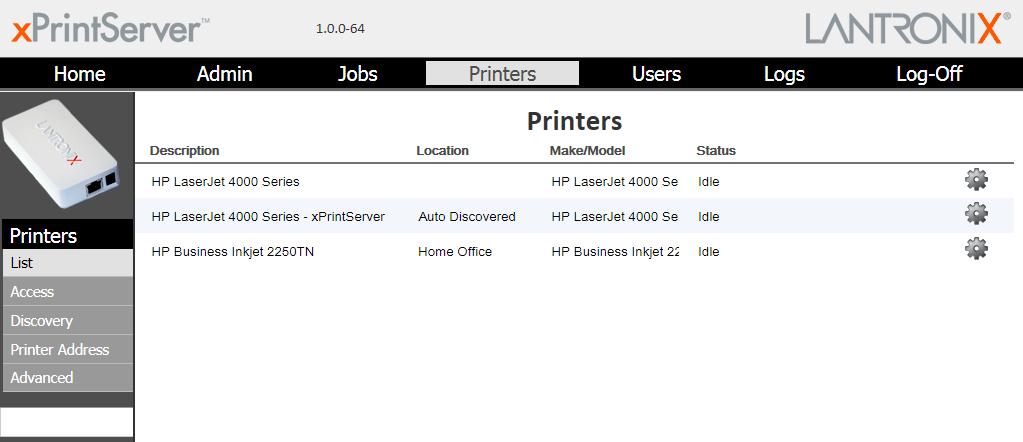
The printer will be created and added to the Printers page of the xPrintServer device:
[Originally Published On: 03/09/2012 09:51 AM]

