Manually adding a printer in the 5.1.0-17 firmware for the xPrintServer Office (XPS1002FC-02-S)
- Jane
After I upgraded my xPrintServer Office to the 5.1.0-17 version of firmware the menu to manually add a printer changed, how do I add a printer using the new menu?
Below is the method to manually add a printer in the xPrintServer's web interface.
Please log into the xPrintServer web interface, See 'Navigation' and 'Logging In' on pages 12-13, and 15 of the online User Guide --
http://www.lantronix.com/pdf/xPrintServer_UG.pdf
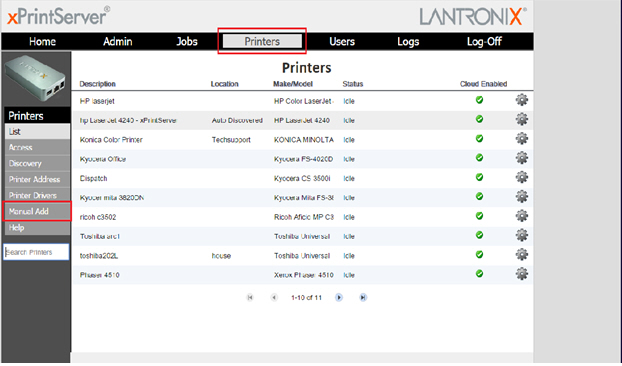
1. Click on 'Printers' in the black bar at the top of the Web interface.
2. Select Manual Add.
3. In the Model field type the beginning of the Model number or name to display a list of printers with similar name/model. To shorten the list keep entering more characters from the beginning of the model/name until you see your printer or a similar printer that uses the same driver.
4. Select your printer or a similar model that uses the same driver.
5. Enter a Queue name (Note the Queue name cannot have spaces, # symbols or /)
6. Enter a Description to be displayed in the Printers list.
7. If you like you can also enter a Location.
8. In the Socket field, type a socket URI in the form 'socket://xxx.xxx.xxx.xxx' where the xxx. is the IP address of the printer. We recommend that printers be assigned static IP addresses.
Example:
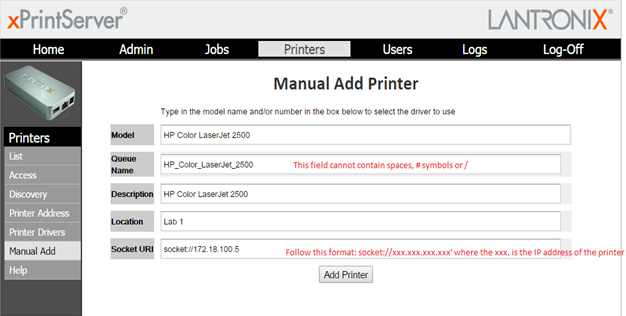
9. Click add printer
Note: If the above formatting is not used, once "Add Printer" is clicked it will appear the printer is being added normally but it won't show up in the Printer List. If you encounter this please review the above format and attempt to add the printer again.
[Originally Published On: 05/31/2017 01:15 PM]