Add RADIUS support to E220 router
...
The RADIUS server (Remote Authentication Dial-In User Service) is a service that allows to authenticate users in an centralised manner. In our case, we will give to each user an username and password so they can get access to the WiFi network.
Install Freeradius server
On the virtual machine, install freeradius:
Check the default configuration:
Last line should be
Configuration appears to be OK. Add your router as a new client that can request a user to be authenticated:
/etc/freeradius/clients.conf
|
Search for the line
client localhost { and add the following content just above it (then save and quit):
Edit the users files:
and a new user at the end of the file:
Now it is time to test the server setup:
Close both terminals and open a new one. Execute following command so the freeradius service is started:
Add support for 802.1x in the router
Once the RADIUS server is working and allows us to authenticate our users, it is time to configure our router to forward the authentication requests to the server when a new user tries to connect to the WiFi network. Get SSH access to your router and execute following command:
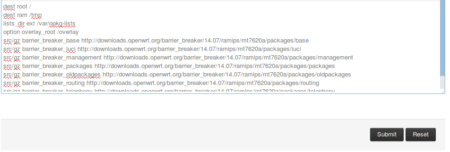
Go to the GUI and from System > Software > Configuration configure the default OpenWrt repositories. Click Submit at the bottom of the page:
Go back to the SSH console and execute the following commands:
Create the WiFi network
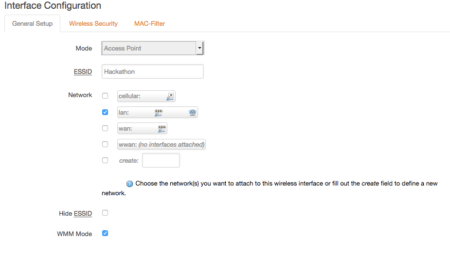
Go to Network > Wifi and click on Add to create a new wireless SSID as Access Point:
- Mode has to be Access Point
- ESSID can be anything that identifies your AP
- Tick lan on Network
- All other fields may be left with the default values
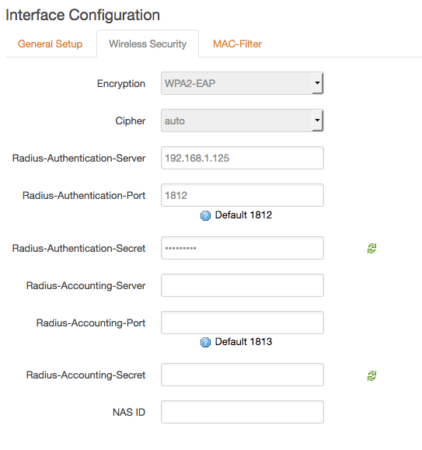
Click on the Wireless Security tab and set following settings:
- Encryption has to be WPA2-EAP
- Cipher can be auto
- Radius-Authentication-Server is the IP of the virtual machine (192.168.1.125 in this case)
- Radius-Authentication-Port is 1812 as we are using the default one
- Radius-Authentication-Secret is hackathon as configured when adding the client openwrt to the configuration file
- All other fields can be empty
- Click Save & Apply at the bottom of the page
Test the RADIUS authentication
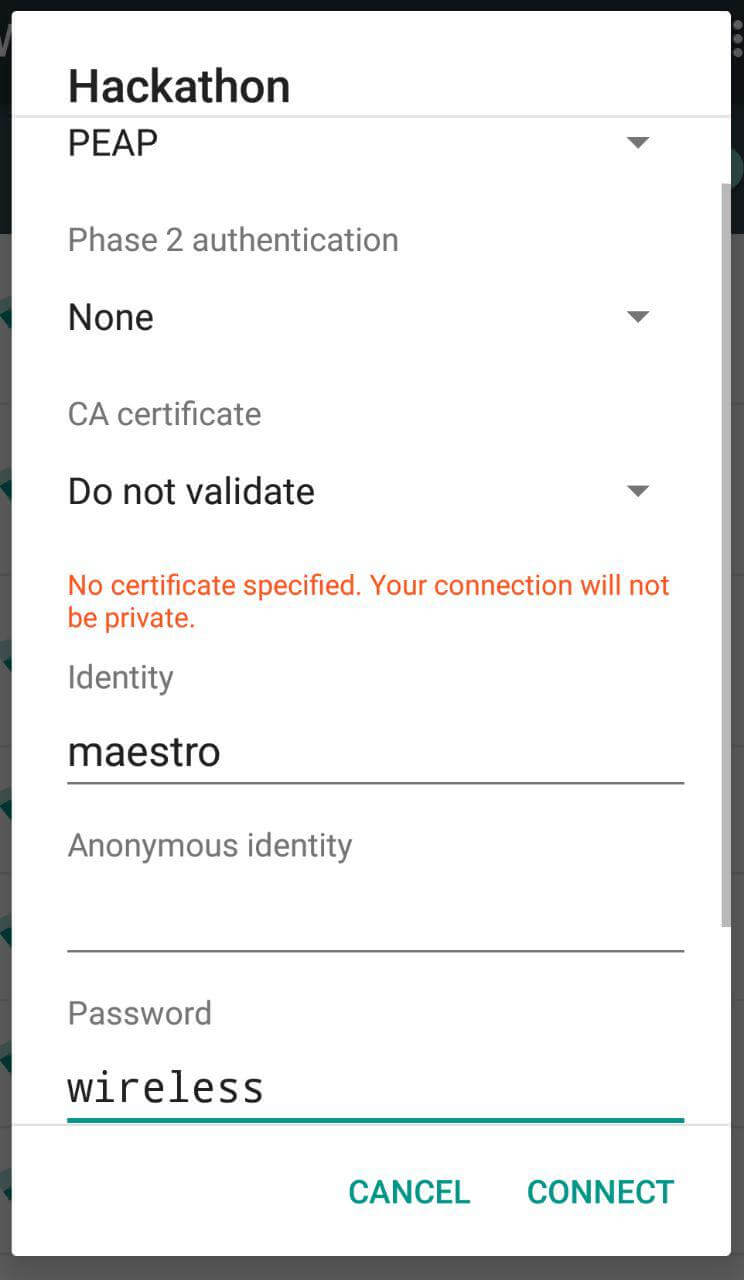
The configuration is all done and it is time to test that it works. From your smartphone, search for the wireless network
Hackathon and connect to it:
- CA certificate set it to Do not validate
- Identity is maestro (the username added to the users file)
- Anonymous identity is left blank
-
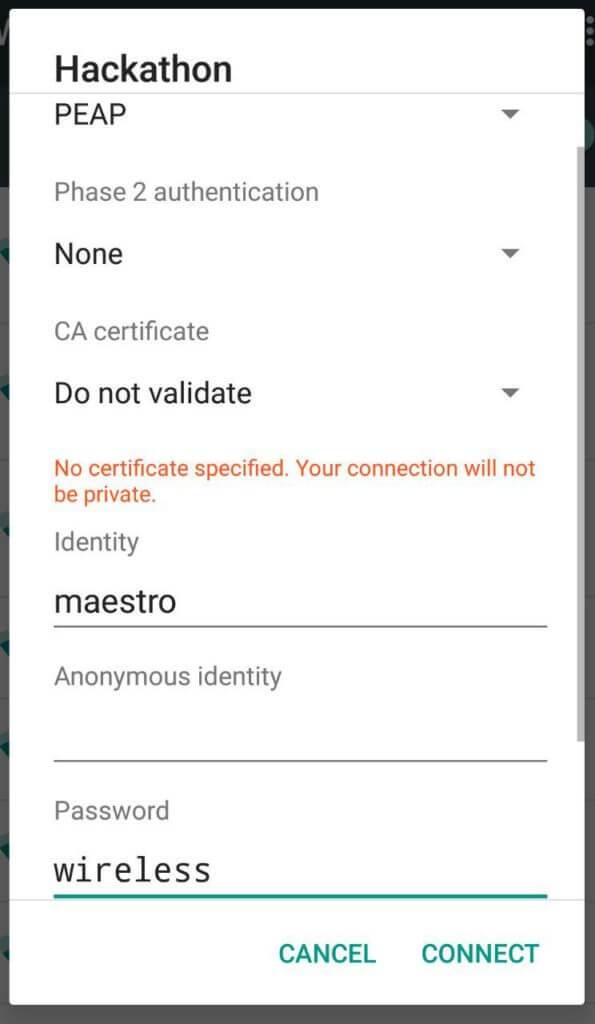 Image Added
 - Password is wireless Image Removed wireles
After pressing on Connect, the smartphone will send the authentication request to the router which will forward it to the RADIUS server. If the username is authorised to have wireless connectivity, you will see that in the Status > Overview tab of your router there is a new DHCP lease:

...